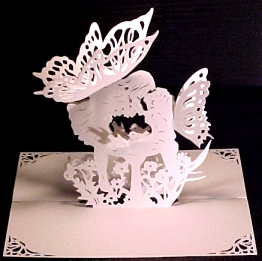
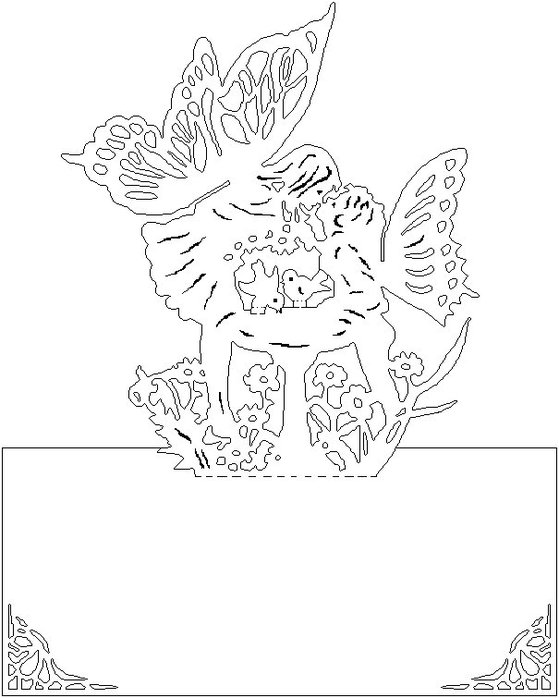
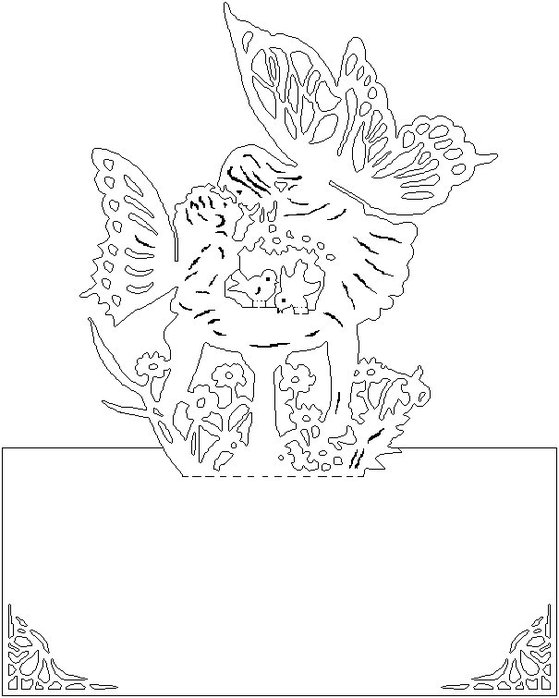
Kirigami art card: beautiful butterfly card


Chủ Nhật, 18 tháng 12, 2011
Thứ Tư, 24 tháng 8, 2011


Gift present for kids: Paper Truck straw, kids craft ideas
You'll need just a few supplies: heavy cardstock, a craft knife of some sort (I love this little one from Fiskars), paper straws, and a die cut/punch/shape maker (I used Cricut).
Okay! Let's get started. First, cut or punch your shapes from your cardstock. I like using a variety of coordinating papers to add dimension and color to the project. You could even cut a variety of coordinating shapes. Hold your cut-out up to the straw to make sure that the size looks proportionate. When you have all of your cut-outs, lay them out on a self-healing surface or a thick sheet of cardboard. Using your craft knife, cut two parallel slits horizontally in your cut-out. Weave a straw through the cut portion so the majority of the straw is behind the cut-out.

Arrange assembled straws in an upright container and display near the cups and drinks. That is it!
Wasn't that simple?
For more straw flare inspiration, you can visit me over at girl. Inspired. where I'll show you a cute girly version and another way to display the straws!
Source: thisismeinspired.blogspot.
Thứ Ba, 23 tháng 8, 2011


Type and print out a large bold letter that is at least 4 in (10 cm) tall, trace the printout on card stock if you can't print out just an outlined letter, cut out random shapes—but be sure to leave a border so it won't fall apart. Done!
Unique gift presents: m kirigami tutorial , kids craft ideas
Great for:
- a card
- gift tag
- framed artwork
I've seen comments about paper cutting projects that include phrases like:
- if only I had the patience
- if only I could do that
- if only I had the time
- if only... (you fill in the blank—I know some of you probably have something else to add here!)
Cutting doesn't have to be complex and no fancy tools are needed. See it as a relaxing thing to do and just go slow. Make something and you'll see it isn't as hard as you think. If you'd like to practice cutting out this M, download it here. It's in reverse so that any black borders you don't cut out won't show up in the final piece. Print it on card stock and use the reverse image as your final piece.
Source:alittlehut.blogspot.com
Thứ Năm, 18 tháng 8, 2011
Thứ Tư, 17 tháng 8, 2011


I just love making kirigami boxes. This ancient art makes for beautiful paper crafts. Here I am using the Pion Design Studio of Memories collection. Actually, this entire project was made using ONE single sheet of 12x12 paper. The box measures about 2x2x3 inches. Half the sheet (2 - 6x6 inch pieces) for the box and the other half for the flower. I added a bit of lace and pearls (thank you Ivana for the pearls!) and it was done.
Gift presents: Kirigami box tutorial , kids craft ideas
STEP 1: You will need 2 square papers one for the top and one for the bottom of the box, scissors, adhesive and anything you wish to decorate the box with. Find the centre of your paper by aligning a ruler to the corners and marking in the middle of the side of the paper that will be on the inside). A 12x12 paper will make a 4 inch box and a 6x6 paper will make a 2 inch box.
STEP 2: Fold in corners to the middle.
STEP 3: Open up 2 opposite corner and then fold in the remaining 2 sides over again to the middle.
STEP 4: Open it all up and repeat on the other 2 sides. You will then get a square creased (top of the box) in the middle of the paper and a smaller square pattern on the rest of the paper.
STEP 5: On two opposing sides, cut up to the middle box shape (along the crease).
STEP 6: Fold in the uncut sides down like this:
STEP 7: Fold up on the crease to make the side of your box and fold in the cut flaps to look like below. You can use a piece of tape to keep the flaps together.
STEP 8: Fold the remaining pieces over the taped together flaps.
STEP 9: Secure with adhesive. This is the top of the box.
STEP 10: Repeat the entire process with another sheet of paper for the bottom of the box.
STEP 11: Decorate and assemble. I made a water distressed flower with my sugarplum flower tutorial technique, using 8 layers of different shape and size flower punches.
I hope you give this folded box a try. This is a great, quick little project that took me under half an hour to complete with the decorating!
Source:simplypaperandcreativity.blogspot.com


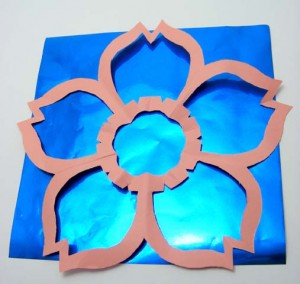
Tissue paper flower: kirigami sakura tutorial, kids craft ideas
As mentioned a couple of days ago, Kirigami is the japanese art of paper cutting.
Here are instructions to make a simple sakura (japanese cherry blossom).
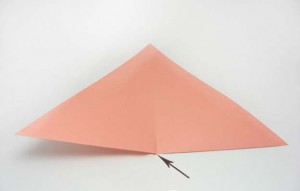
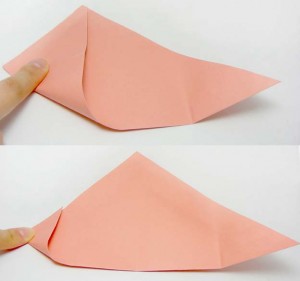
1 – Begin with a square piece of paper and fold diagonally to create a triangle.
Now, fold one bottom corner to the other and crease approximately 2cm to create a point of reference in the middle.
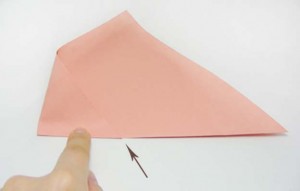
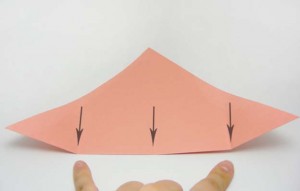
2 – Next, fold the bottom corners to the middle and crease approximately 2 cm.
* You should now have three evenly spaced creased along the bottom of the triangle.
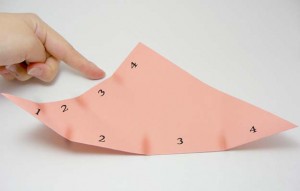
3 – Take the left corner and fold it up to the top point (crease 2 cm) and unfold.
Now, take the same corner and fold it to the newly created middle crease.
Repeat the last step, using the top point of the triangle and folding it to the new middle crease.
Now, take the same corner and fold it to the newly created middle crease.
Repeat the last step, using the top point of the triangle and folding it to the new middle crease.
* You should now see four even sections along the bottom and left-hand side
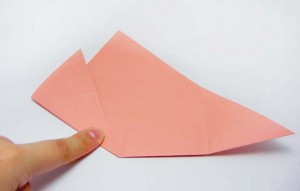
4 – Using the creases on the left-hand side, take the left bottom corner and fold it up to the top crease
(the fold should not surpass the bottom middle crease).
This time, press down along the entire fold to keep it in place.
5 – Next, take the right bottom corner and fold it to the left-hand side. Make sure it’s folded along the edge, also, not surpassing the middle crease (this should give you a clean point at the bottom).
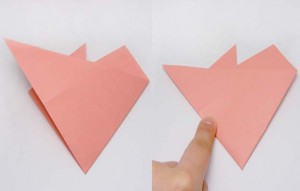
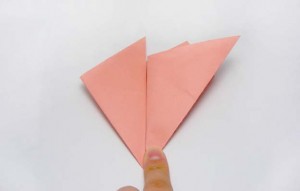
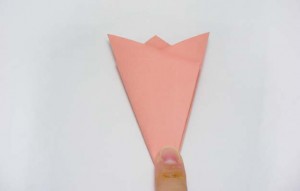
6 – Taking the same corner from the previous step, fold it in half, taking the corner back to the right-hand side. Make sure the edges are parallel.
7 – Now, take the left side, fold over to the right, making sure to keep the edges parallel.
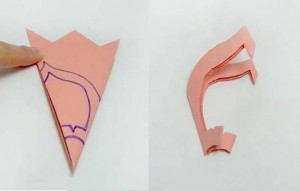
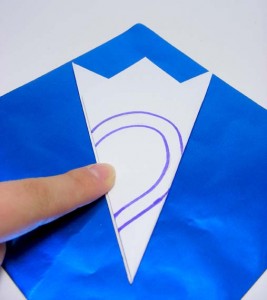
8 – Turn it over and draw a petal design. I chose a pointed petal design to create a sakura.
*Make sure to leave the left and right edges attached at some points in order to keep the entire image intact!
9 – Once the drawing is complete, cut it out and unfold it. You should have a lovely flower to decorate anything you like.
Try different styles to create a wide range of lovely designs.
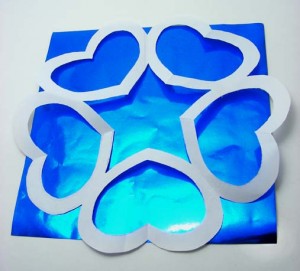
This one I tried with a semi heart shape:
Once I cut it out, I thought it might look cheesy….
but to my surprise, it turned out different from what I imagined. The star in the middle adds a special touch.
Source:mihosuzuki.com
Đăng ký:
Bài đăng (Atom)