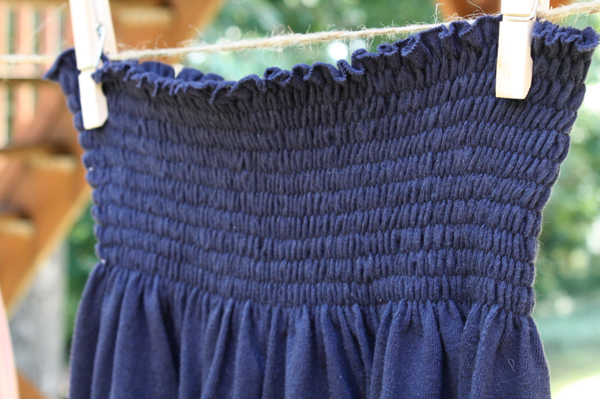
Recycling fashion for women:
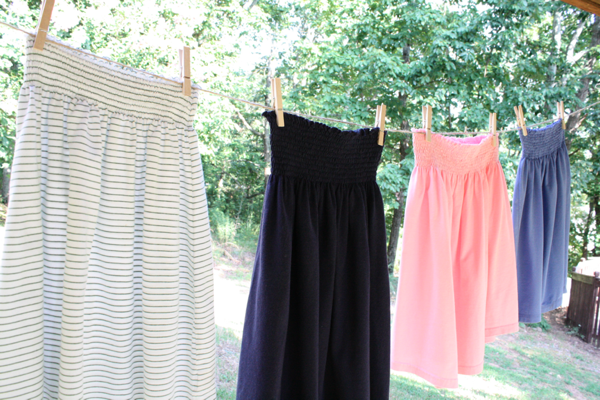

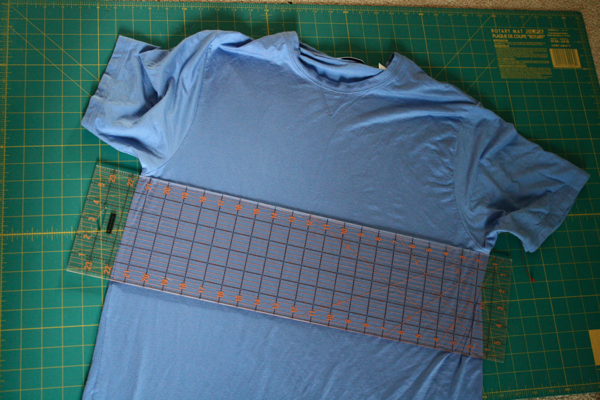
To determine what shirt size you should get, just make sure it will go around you. Most of the shirts I use are at least 24″ across (so 48″ total diameter). You lose 2-3 inches after you shirr it, so take that into consideration. Like I said, the bigger the better!
So, lay your shirt out flat, and whack it off right under the sleeves. (see my red tag on the left sleeve?) This doesn’t need to be perfect. That’s the beauty of this skirt. No measuring, no perfection. Wing it–you won’t be disappointed! But don’t throw away the top half of the shirt yet. I’ve got other projects for those parts!
I like to use thread the same color as my fabric. You don’t notice sewing boo-boos so much if the thread blends in. But if you’re gutsy enough, use a contrasting thread! You’ll also need an elastic bobbin so your skirt will shirr.
**If you don’t know how to shirr, check out some online tutorials or videos. It’s VERY easy! I was highly intimidated by it at first, but I urge you not to be! A great place to start isSandi Henderson’s tutorial.

You want to start close to the edge so you don’t have a huge ruffly waist band. There’s no need to hem the top band, your knit shirt won’t fray. I like my first row of stitching to be 1/8th of an inch from the top of the skirt. So I line my fabric up with the edge of my presser foot and put my needle in the right position.
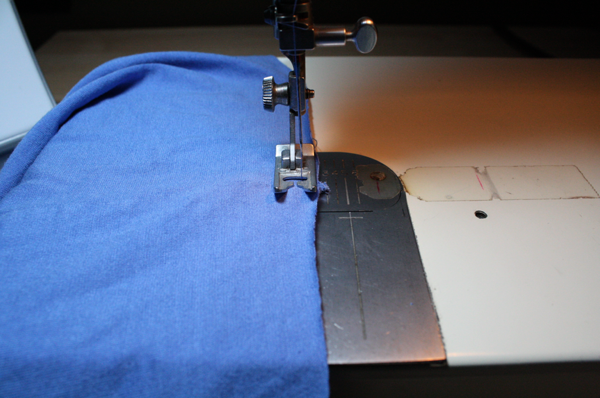
Now, I break a rule of shirring. Instructions will tell you to leave your threads and tie them. Well, I threw that rule out the window 6 skirts and 2 dresses ago! When I start sewing, I back stitch a few stitches, then sew all the way around the skirt. When I get back to my starting point, I back stitch twice (so back 3-4 stitches, forward 3, back 3, forward 3) then leave my elastic ends about 1/4″ long.
This is inside the navy skirt:
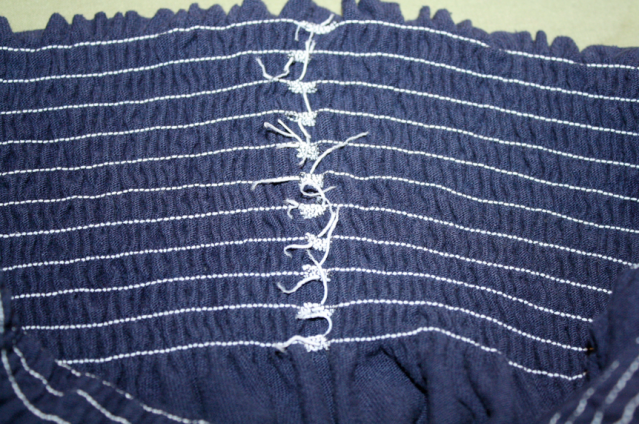
And what it looks like on the outside. It doesn’t stick out or look funny at all when you wear it. It’s not even noticeable until it’s pointed out. I’ve washed the navy and green skirts about 10 times each and the elastic hasn’t budged. So break tradition and save yourself some time!
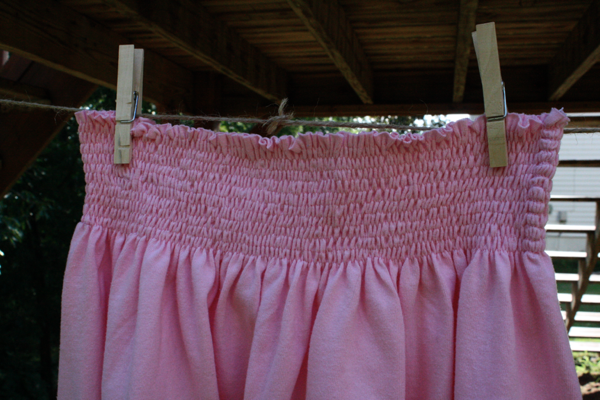
There’s no need to mark your rows. Just use the edge of your presser foot as your guide as you sew. I like to put my needle in the left position, but my machine doesn’t like that lately. Sewing at 1/4″ rows with the needle in the middle turns out just fine so that’s what I do 95% of the time.
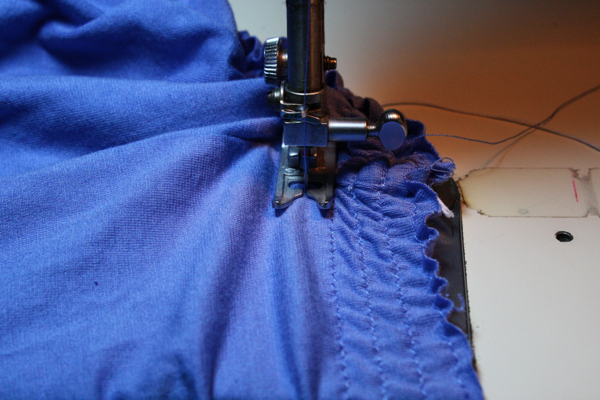
Unlike 100% cotton that doesn’t shrink much as you sew, knit shrinks up LOTS. So you need to make sure you pull the shirt flat as you sew. Use medium pressure when you pull. You don’t want to work against your machine, so don’t pull hard. Do it in small sections to maintain control over where you’re sewing.
**If your shirt isn’t shrinking up as your shirr, you’ll need to adjust your thread tension. Experiment on scrap pieces from your shirt until you get it to shirr properly.
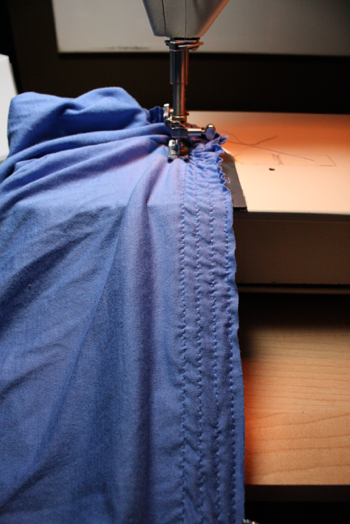
When you get back to the start, hold the fabric open and flat while you do your back stitching.
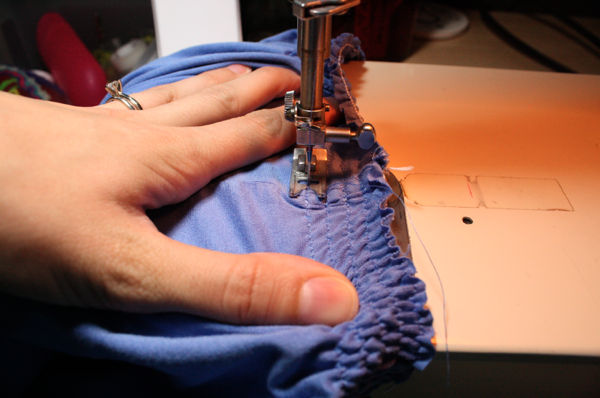
Just keep sewing as many rows as you want! I do somewhere in the neighborhood of 12-15, depends on my mood and the length of the skirt. I generally need to use 2-3 elastic bobbins, so you might want to wind several before you start sewing to save yourself the hassle. Check your bobbin between rows to make sure you have enough to get back around. It’s okay if you don’t, just back stitch a few times with the new one and keep going. It just doesn’t look as tidy that way.

And that’s it! The best summer skirt you’ll ever own!

Source: sewlikemymom.com
 RSS Feed
 Twitter
 03:39
03:39
 Unknown
 Posted in


0 nhận xét:
Đăng nhận xét