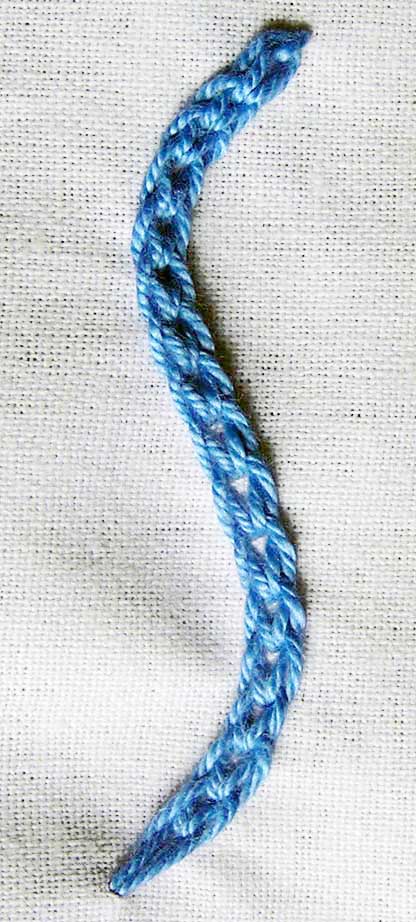
Crafts lessons: braided chain stitch tutorial
The braided chain stitch is worked almost the same way as the heavy chain stitch. There is only a slight difference in the way the needle is taken under the existing loops, thus giving it a totally different and embossed look. It follows a reverse pattern like the reverse chain stitch and so we work it from top to bottom.
To work this stitch, you should be aware of at least the lazy daisy stitch. Knowledge of the reverse chain stitch and heavy chain stitch will only be more helpful. I will be working over a curved stitch line.
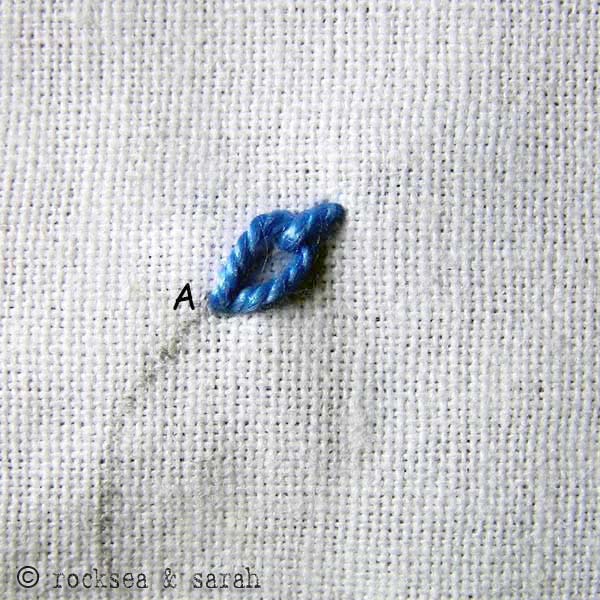 | 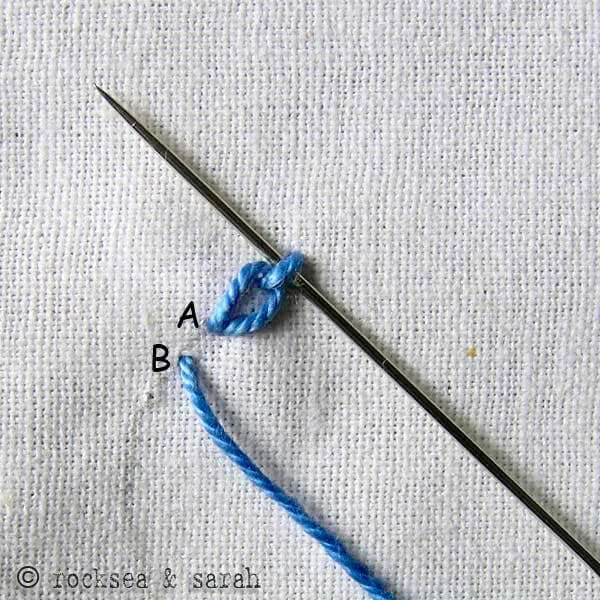 | |
| Fig 1: Lay the foundation by doing a lazy daisy stitch with a slightly longer tail, and the base as point A. | Fig 2: Bring the needle out through B and take it under the tail of the lazy daisy without plucking the fabric. | |
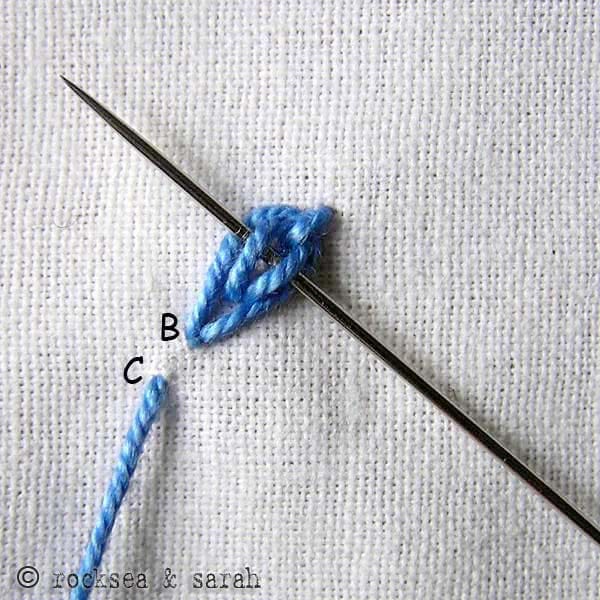 |  | |
| Fig 3: Put the needle back in B to get another loop, layering the lazy daisy from outside. Bring the needle out through C. Take it over the outside loop and under the inside loop as illustrated. | Fig 4: Put the needle back in C to finish that loop. Now Bring the needle back again through D and continue with the same procedure. | |
 | 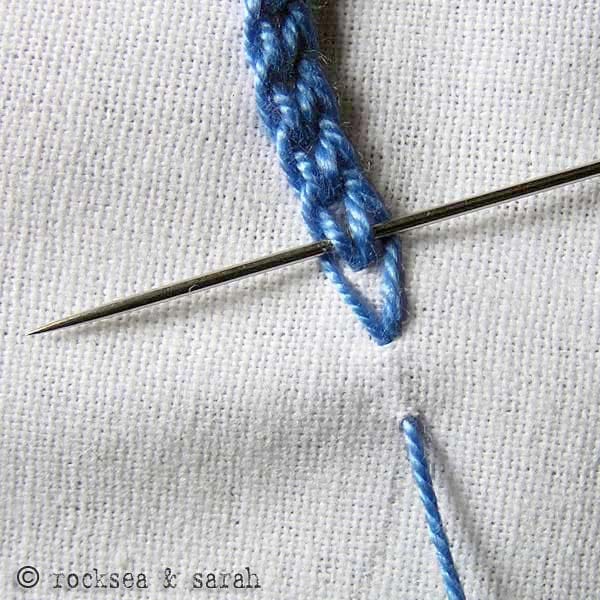 | |
| Fig 5: To make the taking of needle over and under the loops easier, here is a tip. Before tightening the ‘outer’ loop completely, you can take the needle under the ‘inner’ loop. | Fig 6: You can then tighten the ‘outer’ loop by pulling the thread with your fingers and continue with the procedure. | |
 | Fig 7: A finished braided chain stitch will look like this. It has a slightly embossed finish. |
 RSS Feed
 Twitter
 22:27
22:27
 Unknown
 Posted in


0 nhận xét:
Đăng nhận xét